Fully Explained: Building a Concrete Walkway Step-by-Step in Stockton
If you’re thinking about upgrading your yard, a concrete walkway is one of the most practical and long-lasting improvements you can make.
In Stockton, where soil conditions and hot summers can be tough on outdoor surfaces, proper installation makes all the difference.
At Drago, Inc., we’ve built walkways all across Stockton and nearby areas, and the process always comes down to doing the basics right, from prep work to finishing details. Here’s a clear look at how a professional concrete walkway installation in Stockton CA actually comes together.
Why Concrete Walkways Work So Well in Stockton
Concrete is one of the most reliable choices for outdoor paths because it handles heat, foot traffic, and shifting soil better than many alternatives.
In Stockton specifically, homeowners deal with:
- Hot summers that can dry and crack poorly installed surfaces
- Clay-heavy soil that shifts over time
- Dust and irrigation runoff in landscaped areas
That’s why proper planning and base work matter so much for long-term durability.
Step 1: Planning the Walkway Layout
Every good project starts with layout and design. We look at how the walkway connects different areas (driveway, backyard, garden, or entryway) and make sure it feels natural.
This step includes:
- Marking the path
- Measuring slope and drainage direction
- Confirming width and accessibility
A well-designed walkway doesn’t just look good, it improves how you move through your space.
Step 2: Excavation and Ground Preparation
Once the layout is set, the area is excavated to remove grass, dirt, and debris.
This is where a lot of long-term success is decided.
We:
- Dig to the proper depth
- Compact the soil
- Ensure the base is stable and even
Skipping this step or rushing it is one of the biggest reasons walkways crack later on.
Step 3: Building the Base Layer
The base is what supports everything above it. In Stockton, this is especially important because of shifting ground conditions.
We install and compact:
- Crushed rock base material
- Layered compaction for strength
- Proper grading for drainage
This ensures water flows away instead of pooling under the concrete.
Step 4: Setting Forms and Structure
Next, we install wooden forms to shape the walkway.
This defines:
- The exact edges
- Straight or curved design
- Final height and slope
Precision here ensures clean, professional results once the concrete is poured.
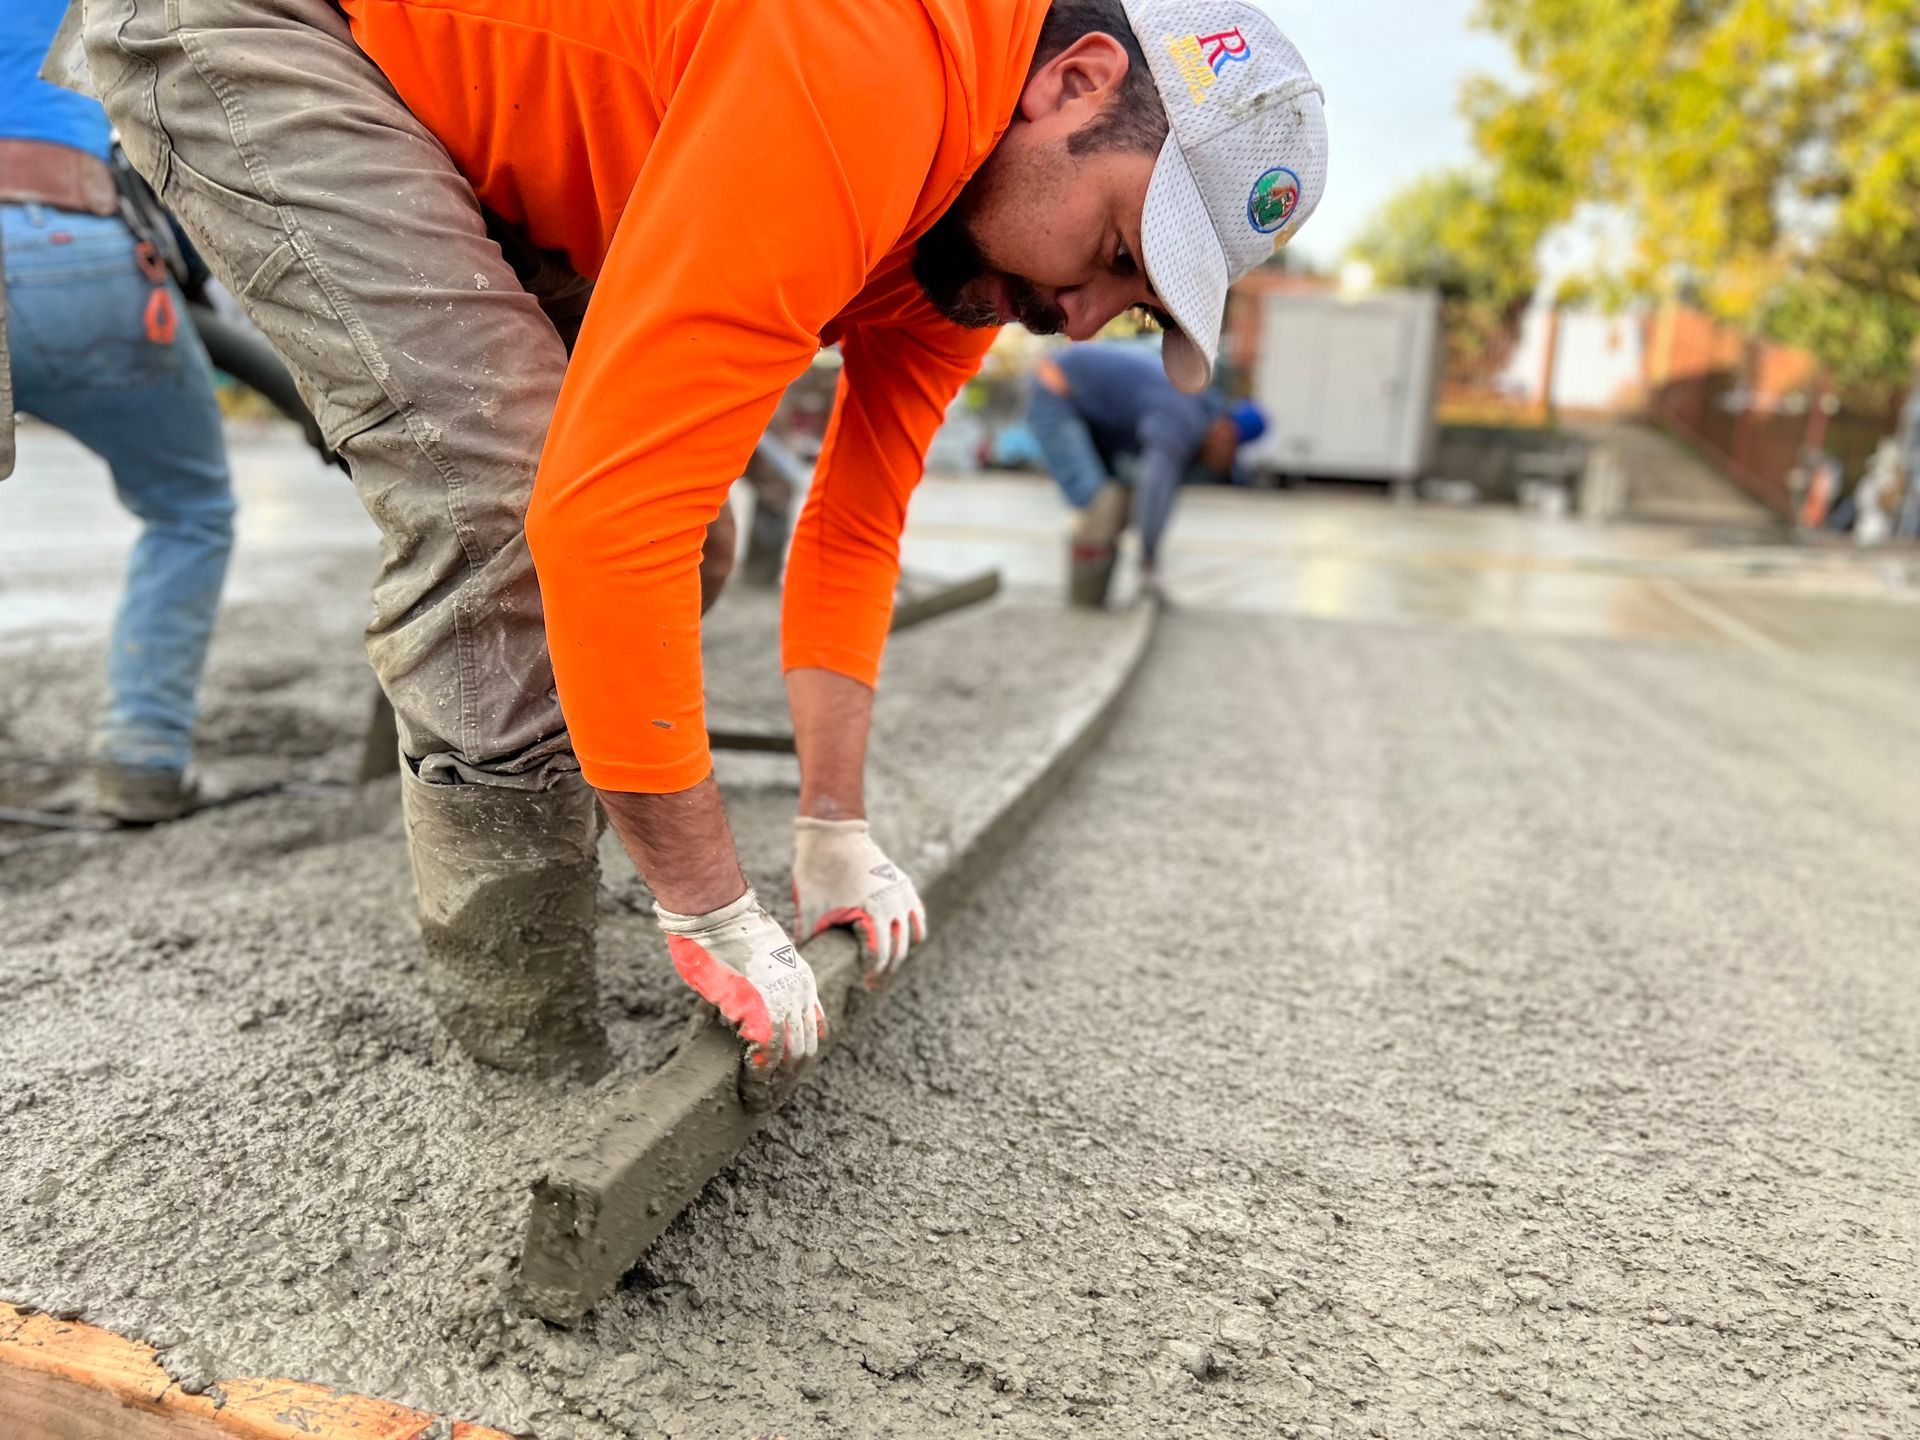
Step 5: Pouring the Concrete
This is the step most people picture first, but it only works because of everything that comes before it.
We pour the concrete evenly and work quickly to:
- Spread it properly
- Remove air pockets
- Maintain consistent thickness
Depending on the design, this is also where decorative finishes or textures can be added.
Step 6: Finishing and Surface Work
The finish is what you see every day, so it has to be done right.
Options may include:
- Smooth trowel finish
- Light broom texture for slip resistance
- Decorative edging or patterns
This step also includes control joints to help prevent cracking as the concrete naturally expands and contracts.
Step 7: Curing and Final Set
Concrete doesn’t just “dry”, it cures over time.
We protect the surface and allow it to strengthen properly before use. Rushing this step can shorten the lifespan of the walkway.
Concrete Walkways vs. Other Materials
While pavers and gravel are options, concrete remains one of the most cost-effective and durable solutions in Stockton.
Benefits include:
- Long lifespan with proper installation
- Low maintenance
- Clean, modern appearance
- Strong performance in hot climates
Final Thoughts
A properly built walkway is more than just a path, it connects your home, improves curb appeal, and adds long-term value.
If you’re planning a concrete walkway installation in Stockton CA, the key is simple: proper prep, strong base work, and attention to detail.
At Drago, Inc., we focus on building walkways that hold up to Stockton’s climate while keeping your property looking clean and functional for years.